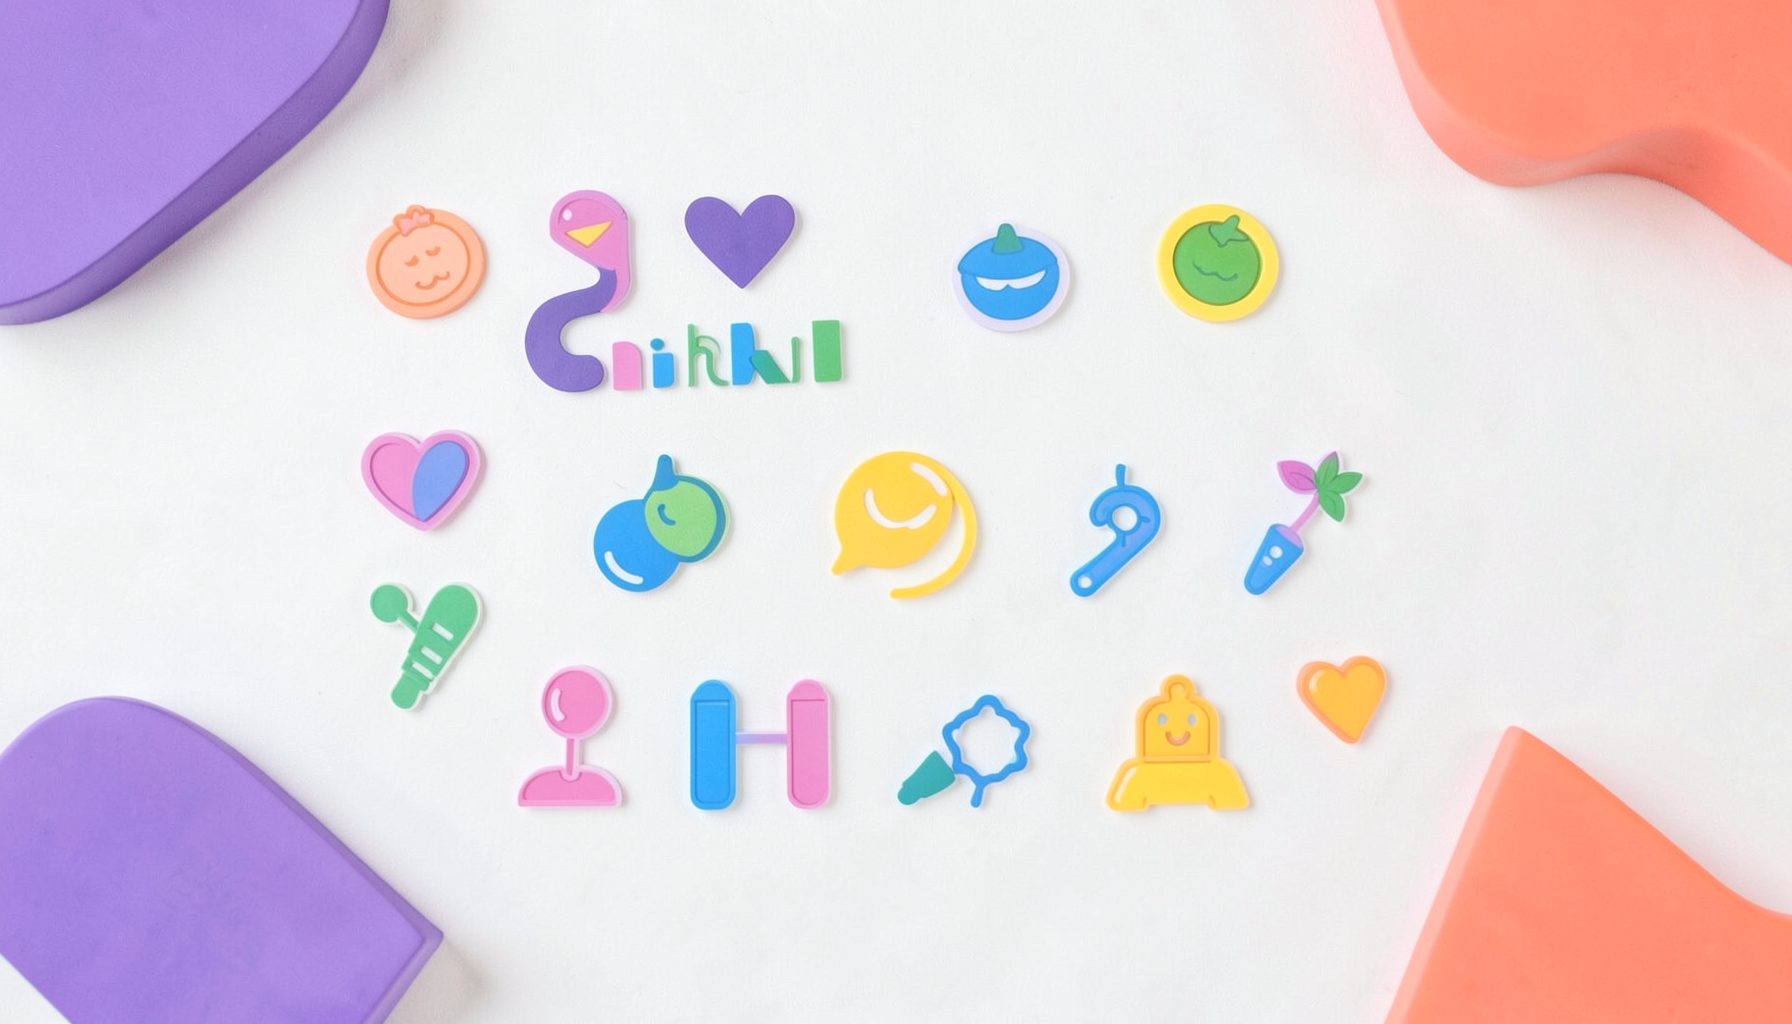
A collection of icons for designers and developers, organized by category and ready to drop into any project.
Add Handcrafted Texture to Icons in Photoshop
Clean vector icons are useful, but perfectly smooth edges can sometimes feel too digital. A subtle paper grain, ink irregularity or screen-print effect gives an icon a warmer visual character without sacrificing clarity.
This approach works well for website graphics, app interfaces, presentations and mockups. It is especially effective when a brand wants to suggest craft, sustainability, local production or a friendly human touch rather than a sterile software aesthetic.
Photoshop makes the process flexible because PSD vector artwork can be edited alongside transparent PNG files. You can keep the original shape intact, test several textures and export polished assets for everything from a Sydney café website to a Melbourne construction company’s tender presentation.
Prepare The Icon Artwork
Open the PSD icon and duplicate the original layer before making any changes. Rename the copy “Texture Version” and keep the untouched artwork hidden or locked. This simple step lets you compare the result and return to the clean vector whenever required.
If the icon is supplied as a vector Smart Object, double-click its thumbnail to edit the source artwork separately. PNG files can still be textured, but they are raster images, so check their resolution before enlarging them. A small icon intended for a mobile interface may need a larger working canvas to avoid fuzzy edges.
For a collection, place each symbol in a consistent document size. Australian businesses often need the same assets across responsive websites, social posts and printed leave-behind material, so a tidy source file reduces last-minute resizing problems.
Build A Subtle Base Texture
Create a new layer above the icon and fill it with a neutral grey or a colour sampled from the artwork. Choose Filter > Noise > Add Noise, select a low amount and use Gaussian distribution. Monochromatic noise prevents the texture from introducing unwanted coloured specks.
Convert the noise layer into a Smart Object before applying further filters. A small amount of Gaussian Blur can soften harsh pixels, while Filter Gallery effects such as Spatter or Texturizer can create a more tactile surface. Keep the effect restrained: texture should support the icon, not compete with its silhouette.
Set the layer to Multiply for a printed or pencil-like result, or try Overlay and Soft Light for a gentler surface variation. Lower the opacity until the effect is visible at normal viewing size. Zooming in to 200 per cent can make a texture appear stronger than it really is.
Keep Texture Inside The Shape
The most reliable method is a clipping mask. Place the texture layer directly above the icon, right-click it and choose Create Clipping Mask. Photoshop will then show the grain only within the visible boundaries of the artwork.
You can also use the icon’s transparency to create a selection. Hold Command on macOS or Ctrl on Windows and click the icon layer thumbnail, then add a layer mask to the texture. This method is helpful when the artwork contains several separate components or when you want to texture individual colours independently.
For a hand-printed appearance, make a second texture layer with a slightly different scale and mask it selectively. A soft brush with reduced flow can remove grain from small details, such as a dollar sign, map pin or social media mark, so those elements remain legible.
Create Ink And Paper Imperfections
A handcrafted look usually comes from controlled irregularity rather than random damage. Add a layer mask to the icon and use a textured brush to break up a few edges. Vary the brush opacity and pressure so the result resembles uneven ink coverage instead of a uniform filter.
To simulate paper, place a high-resolution paper scan or generated fibre texture above the icon and set it to Multiply, Overlay or Soft Light. Desaturate the texture first and adjust Levels to control its contrast. A warm off-white background can make the icon feel like it was printed on recycled stock.
For a screen-print effect, duplicate the icon, move the copy by one or two pixels and reduce its opacity. A slight colour offset can suggest registration movement. Use this sparingly for posters, event graphics or branding mockups; it may be unsuitable for small interface buttons.
Add Colour Variation Carefully
Handmade artwork often has small shifts in pigment. To reproduce that feeling, add a clipped Solid Color layer above the icon and blend it using Colour, Soft Light or Multiply. A muted ochre, dusty blue or eucalyptus green can work well with Australian-inspired palettes without turning the icon into a themed illustration.
A Gradient Map adjustment layer is another useful option. Keep the dark and light colours close in value, then lower the opacity. This creates tonal variation while preserving the recognisable shape. Test the result against both white and darker backgrounds, as texture can disappear or become too contrasty depending on the surface.
For a tradie brand in Brisbane or Perth, a weathered industrial treatment may suit tools, machinery and safety symbols. In contrast, a boutique retailer in Hobart may prefer fine paper grain and restrained colour variation. The visual context should guide the level of distress.
Export Practical Icon Assets
Inspect the icon at the size where it will actually appear. Fine grain that looks attractive in a large mockup may turn into muddy noise at 24 pixels. For user-interface work, simplify the texture and preserve generous negative space around narrow lines and counters.
Save the layered PSD so designers can adjust the effect later, then export transparent PNG files through Export As or Export Quick Export. Use sRGB for websites and apps, and check that transparency has been preserved. Keep a clean version alongside the textured version for accessibility, animation and responsive layouts.
Before publishing a set, preview it in realistic Australian use cases: a council services page in Canberra, a trades website viewed on a ute driver’s phone, or a tourism presentation featuring the Great Ocean Road. You can also browse construction icon resources when building an industrial-themed collection that needs a consistent visual language.
PSD Icons offers free collections for quick experiments and premium packs when a project needs broader coverage. Starting with a coordinated set is often easier than texturing unrelated symbols one by one, particularly when preparing assets for an EOFY campaign or a fast-moving product launch.
Try the process on a small group of icons first, compare clean and textured versions, and save the settings that produce the most convincing finish. Explore PSD Icons for editable PSD vector sets and transparent PNG downloads that can become the foundation for your next handcrafted interface, presentation or brand mockup.
Ultimate Flat Social Icon Set
A premium pack of 70 icons delivered in PSD and PNG, across 4 sizes and 2 different styles, with an HTML/CSS3 version included.
It was built to complement the free library for projects needing a consistent, flat social icon set.
Browse by category
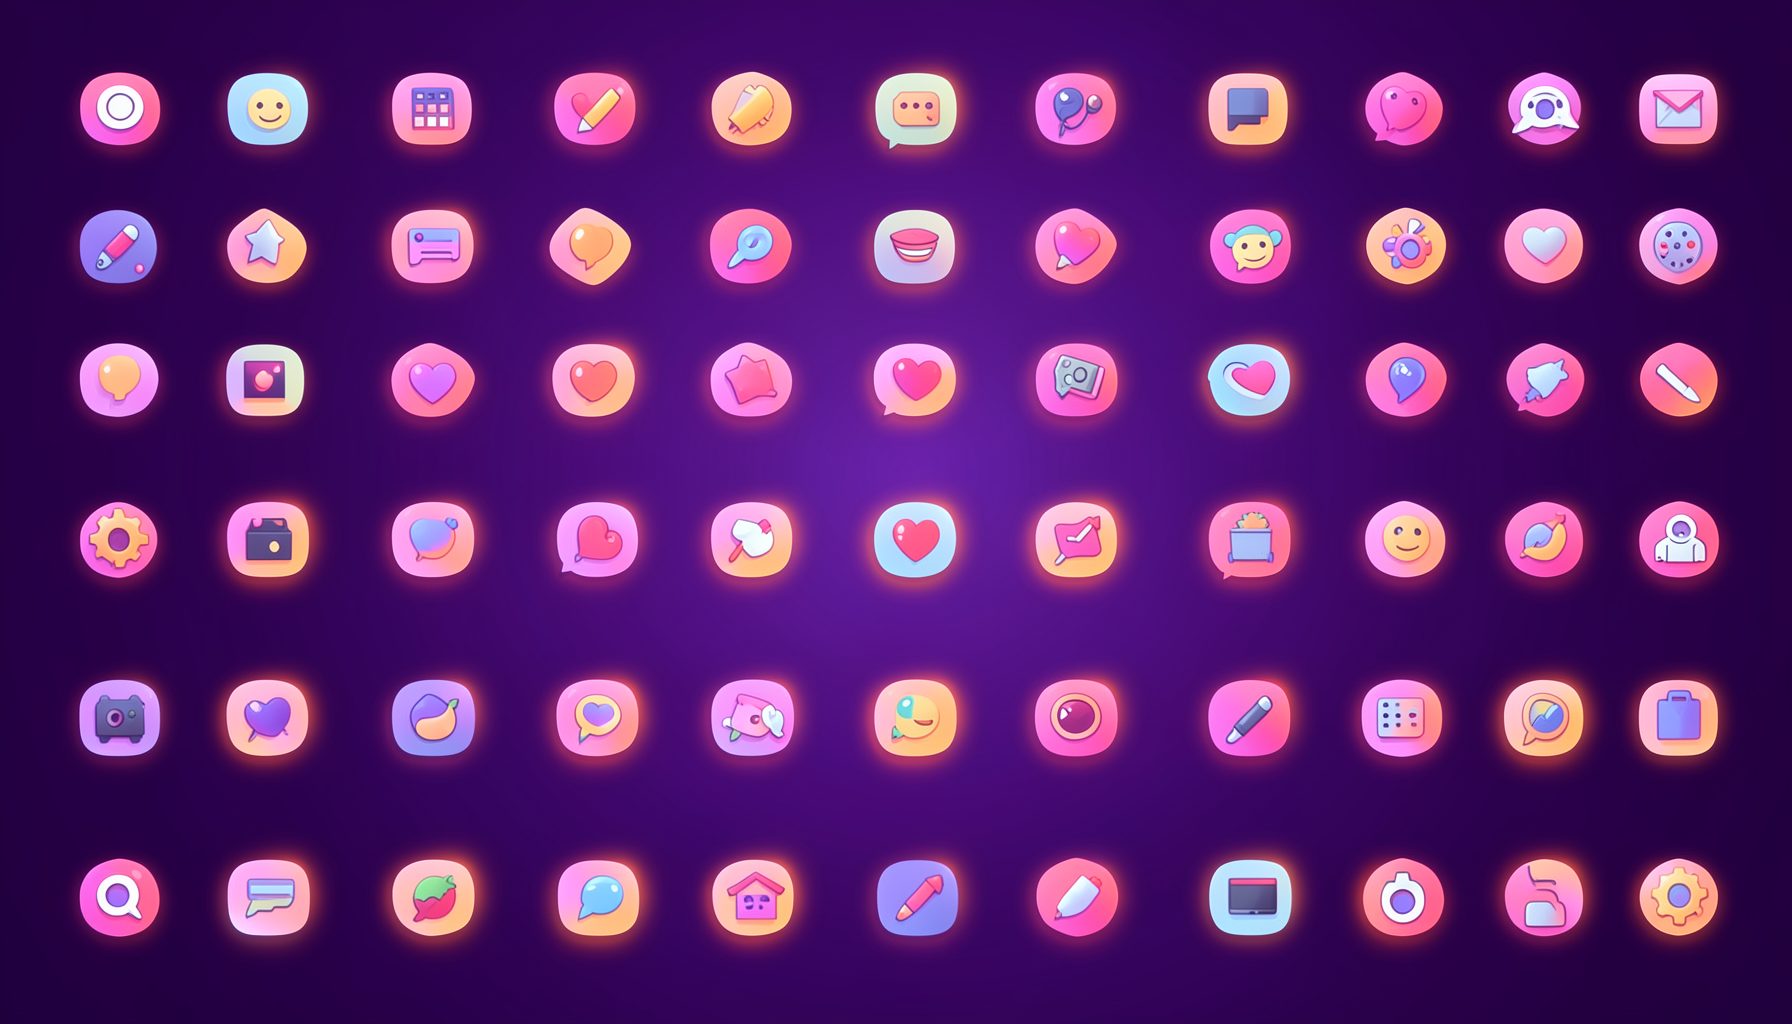
Icons are grouped into 19 categories, from everyday app and business icons to travel, music and user-interface glyphs.
Categories
Apps, Business, Communication, Design, E-commerce, Entertainment, Finance, Holidays & Events, Internet, Media, Miscellaneous, Music, News, Photography, Social, Technology, Travel, User Interfaces, Video.
License & Subscribe
Licensing terms cover use of both free and premium icons in personal and commercial work. Subscribers received email updates on new icon posts, with an RSS feed also available.

Get in touch
Questions, information or icon suggestions could be sent to contact.psdicons@psdicons.net, with replies typically arriving in 1–2 days.
𝕏